How to blog with Jekyll (on Windows) - Part 2
Right, Part 2. In the first part we covered the installation of Jekyll and it’s dependencies, we changed the system’s path variables and preformed a super quick test to check that everything was working okay.
Check
In this part, we will create the actual Jekyll blog. Lets just double check that everything is properly installed. Now I’m sure that it’s all installed and working fine, but lets just check.
Open up a terminal and enter:
jekyll
And like last time it should print out some basic info on Jekyll.
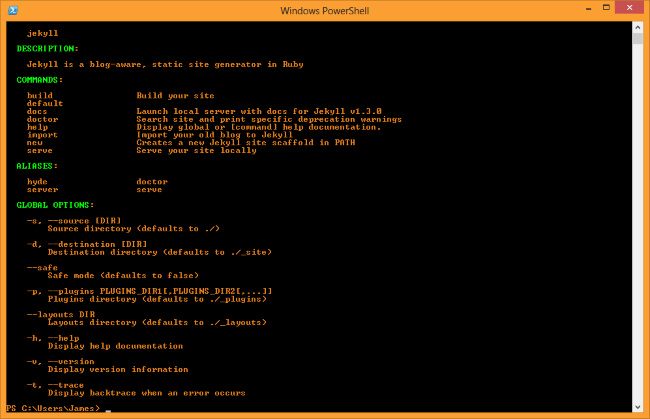
Now that we are sure that it’s all installed and working, lets get on with it!
Directory
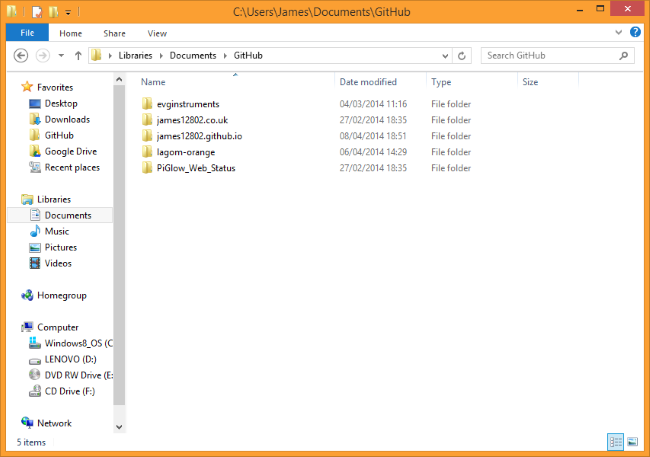
First, navigate your way to the directory in which you store your git projects. Mine is aptly named “GitHub” and is located on the C drive. It doesn’t really matter where your blog is located, just as long as you know where it is for later.
Fire up powershell, navigate to your git directory and enter the following:
jekyll new test-blog
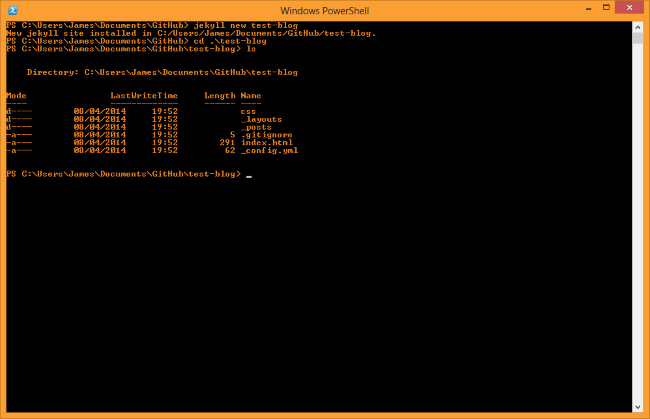
That command generated a new directory called “test-blog” and within that folder all the standard folders and files required for Jekyll. Now enter:
jekyll serve
Now open up your browser and navigate to:
localhost:4000
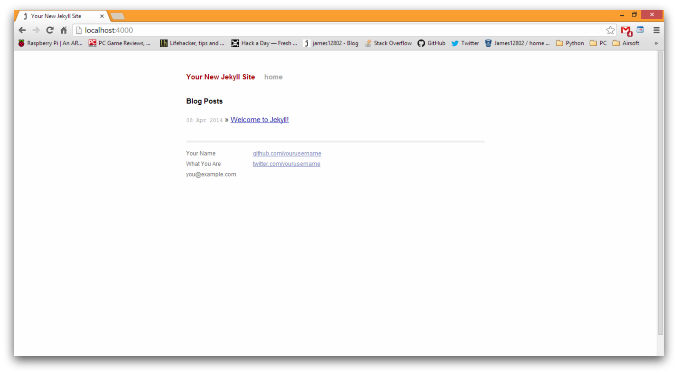
Done
And that’s it. You now have a very basic Jekyll blog running locally on your machine. In the next part we will cover adding content to your new blog and in the later parts will cover theme customisation as well as site deployment.